How to setup Stripe payments for online booking
Accepting payments has never been easier with the help of the Start Booking platform. This guide will walk you through the steps for integrating and configuring payments for your online booking.
Step 1: Connect with Stripe
In order to collect payments you will need to connect your Stripe account. If you don’t have a Stripe account already don’t worry, you can create one while going through the connection process.
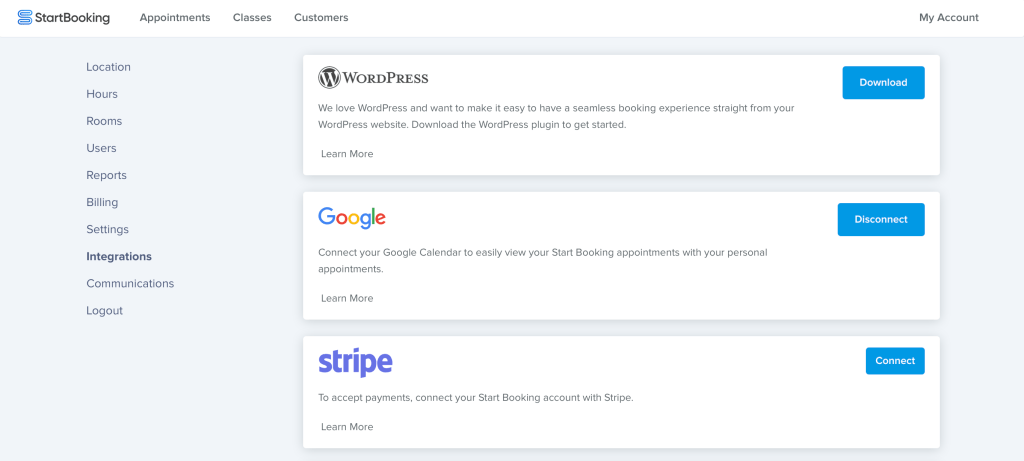
First, log into your Start Booking account and navigate to the account integrations section. In the list of integrations, you will see Stripe. Click the connect button.
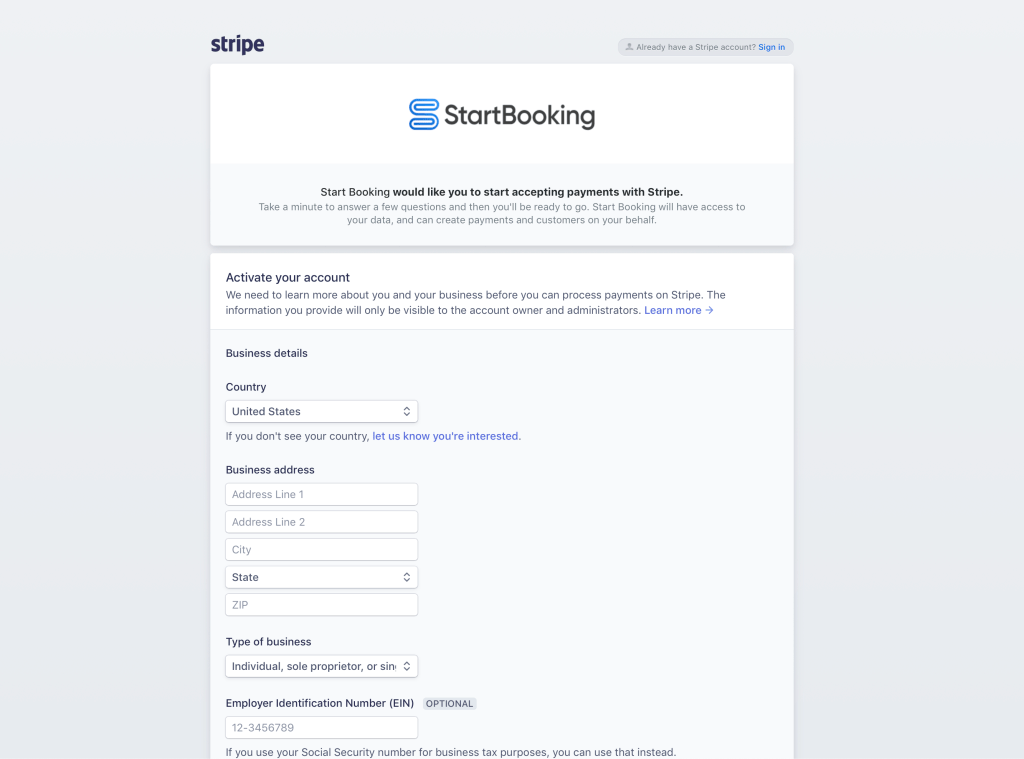
After clicking the connect button you will be redirected to the Stripe platform where you can either connect your existing account or create a new free Stripe account.
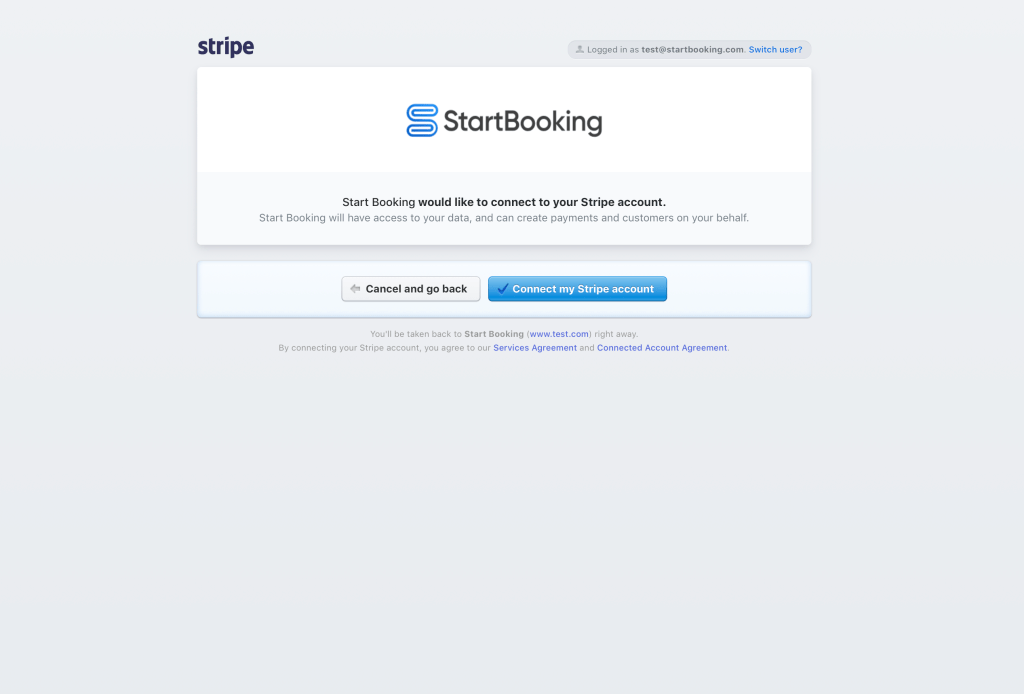
After you have created an account or logged into your existing Stripe account you will see a screen to confirm the connection with Start Booking.
After connecting, you will be redirected back to Start Booking and you can see that the connection has been established.

Step 2: Review Settings
Now that you have Stripe connected, it’s very important that you understand some of the basic settings of accepting payments.
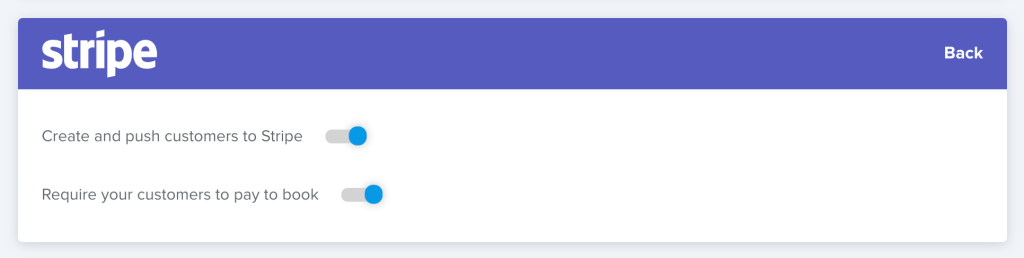
By default, the following settings are enabled.
- When a payment is taken, we will push your customer information into your Stripe account and connect the payment with the customer. If it’s a repeat purchase, we will use the same customer that we created with the first purchase.
- Your customers (when they book for themselves on your website) will be required to successfully purchase the service or class before the appointment will be created.
- Start Booking will use the default currency that is set within your Stripe account for all transactions. If you would like to change your currency, update it within your Stripe account and email support with the new currency you would like to use.
Admins that book customer appointments through the Start Booking application can still go through without first taking payment even if this setting is enabled.
If you would like to disable either of these features you can do so by clicking the settings text link on the Stripe integration panel.
Step 3: Update Prices
Review the prices of your services and class schedules so that your customers are billed the proper amount. It’s important that you don’t skip this step since all your customers will be required to pay before booking appointments with you.
Step 4: Collect Payments!
You are now connected and ready to start accepting payments.
Payment Fees
Below is the breakdown of fees Start Booking charges when a payment run through Stripe.
Free plans: 2%
Individual plans: 1.5%
Business plans: 1%
This does not include Stripes fees.