How cancellations work
There are two ways to cancel an appointment. In the calendar view or in the appointment details.
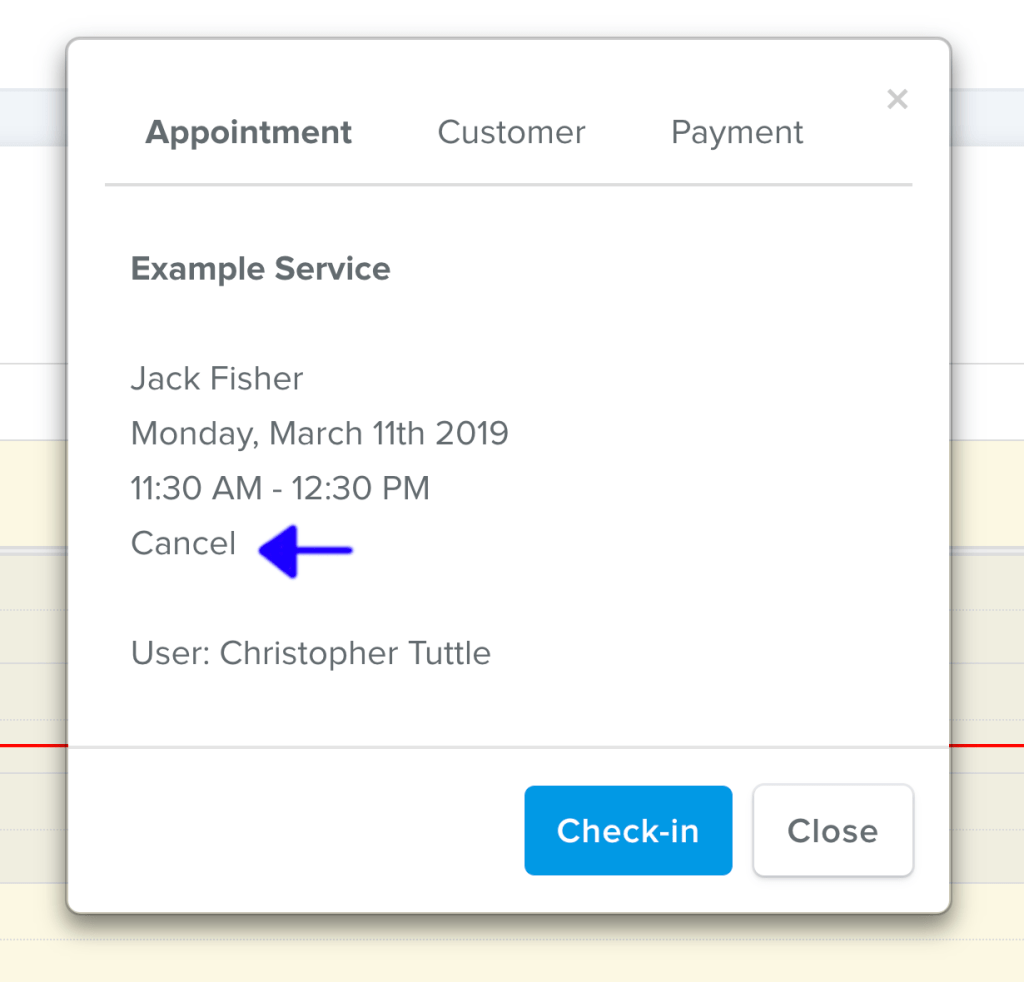
Calendar View
Appointments > View Calendar
Click on the appointment you want to cancel from the calendar. In the appointment details popup click on cancel.
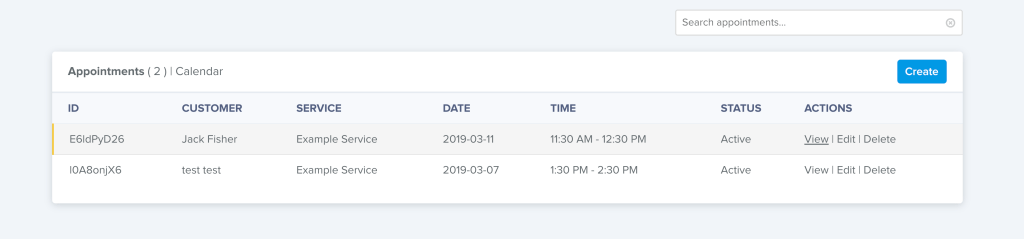
Appointment Details
There are a couple of ways you can get to the appointment details.
You can click on an appointment from your welcome screen or go to Appointments and click view from on the appointment in the list.
Now click on the status button and change the status to Cancelled.
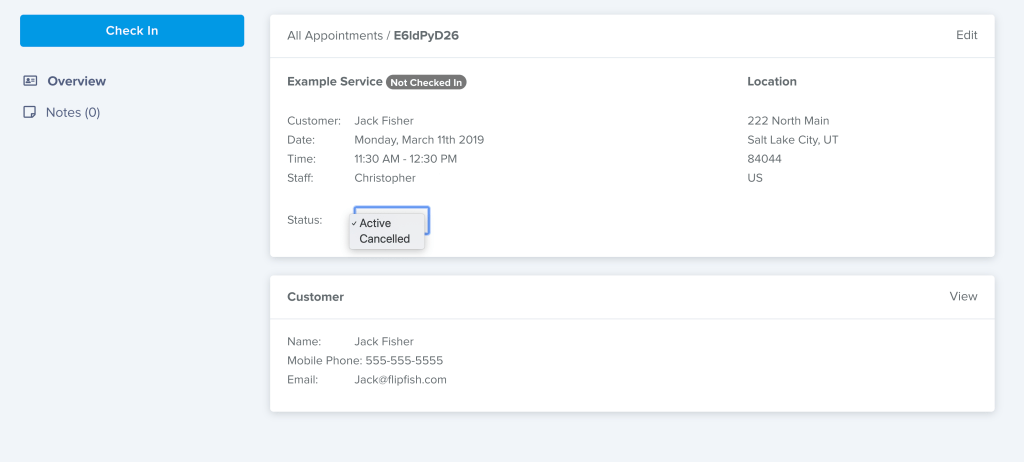
This will send an email to your client letting them know that the appointment has been canceled.
How to allow your customer to cancel their own appointment.
Log into the app and click on your account name in the top right corner to open the account center. Then click on settings. ( Account > Settings )
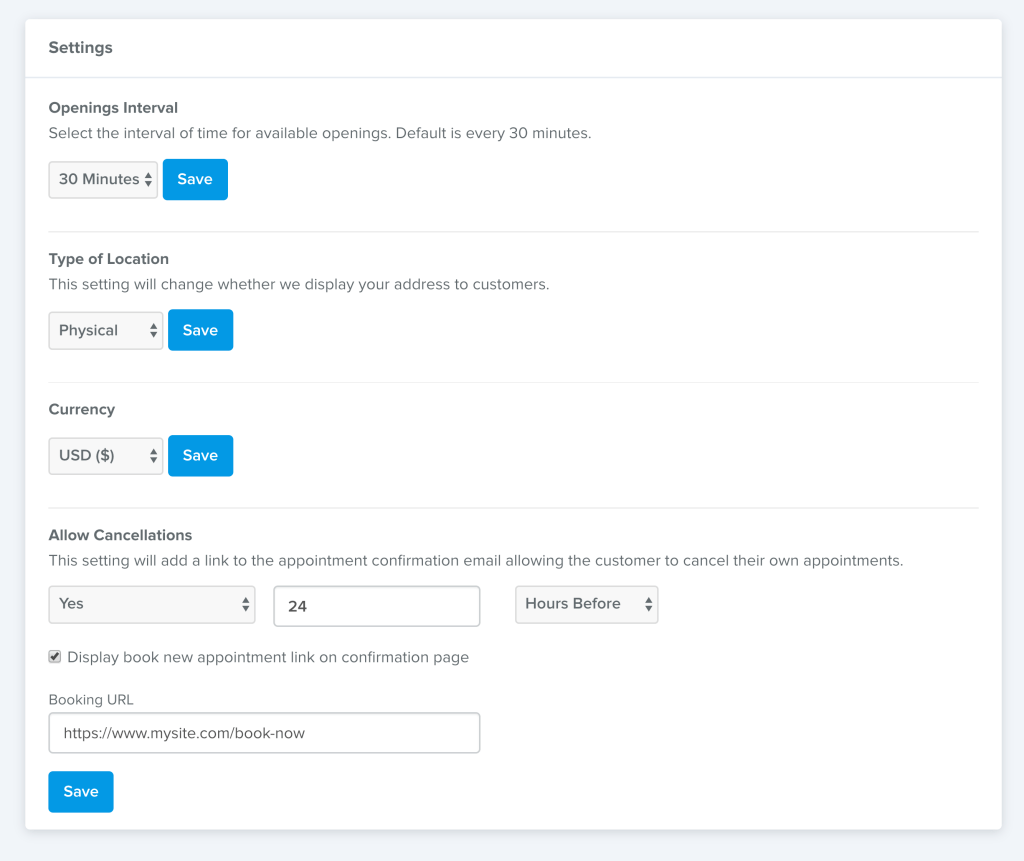
Allow Cancellations
To enable customer initiated cancellations, change the No to Yes in the first drop down.
After selecting yes, define how long before the appointment starts that a customer is allowed to cancel. This can be hours before or days before.
To allow a customer to cancel right up to the time of the appointment just set it to 0 Hours Before.
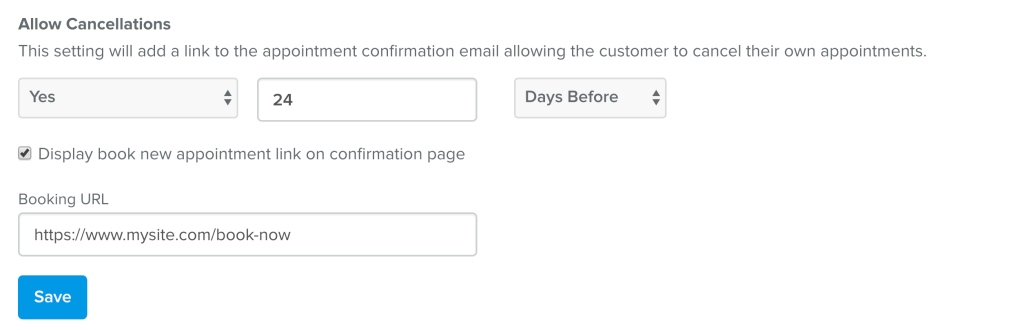
If you want to make it easier for your customer to re-book an appointment, then check the box to Display book new appointment link on the confirmation page. You can put your booking link in the Booking URL section.